

Favorites, saved collections and smart collections
The Collections page in the workbench sidebar keeps every kind of list in one place, and each row says which kind it is. The only real difference is who decides what goes in.
| Kind | What goes in | Good for |
|---|---|---|
| Favorites | Every film you've marked with ♡ | "I love this one" and "watch later" |
| Saved Collection | Films you pick one by one, with a title and description you write | A clear theme, like "Weekend shorts" |
| Tag Collection (smart) | Every film with the same tag, including ones you tag later | A kind of film you keep adding to |
| People, Source and Year Collections | Grouped for you by cast, source and year | Browsing, with nothing to maintain |
A collection only records how films relate. It never copies or moves a video file, and one film can sit in as many collections as you like.
Make a saved collection
- Click Collections in the workbench sidebar, then New Collection at the top right.
- Give it a title, such as "Weekend shorts". The description is optional; use it to say what the set is and what order to watch it in.
- Click Add Videos, pick films from your library, then click Create Collection. You can also create it empty and add films later.
To add a film later, right-click it in the library (or click its ⋯) and choose Add to Collection…. For a lot of films at once, press ⇧⌘B for batch mode; Add to Collection… is there too.
Select a collection and the right side shows its total running time and how many films are archived or still unfiled. Play This Collection at the bottom starts from the top, and the menu also has Shuffle Play. Double-click a collection to open it, then sort by date added, title, duration or size, or show only the unfiled or archived films.
Let a tag build a smart collection
A tag collection's rule is a single tag. Tag a film and a tag collection with the same name appears on the Collections page; tag another film later and it joins on its own. The collection is marked Auto-updating.
- Select a film. In the details rail on the right, under Details, click Add Tags…, type the tag and press Return. You can also choose Tags… from the film's right-click menu, or tag many films at once in batch mode.
- Find the tag collection on the Collections page. Its rule is written under its name.
- Click Edit Rule… to give the tag a color (it also tints the collection cover), write a description, or add aliases. Searching for an alias finds the same films as the tag itself.
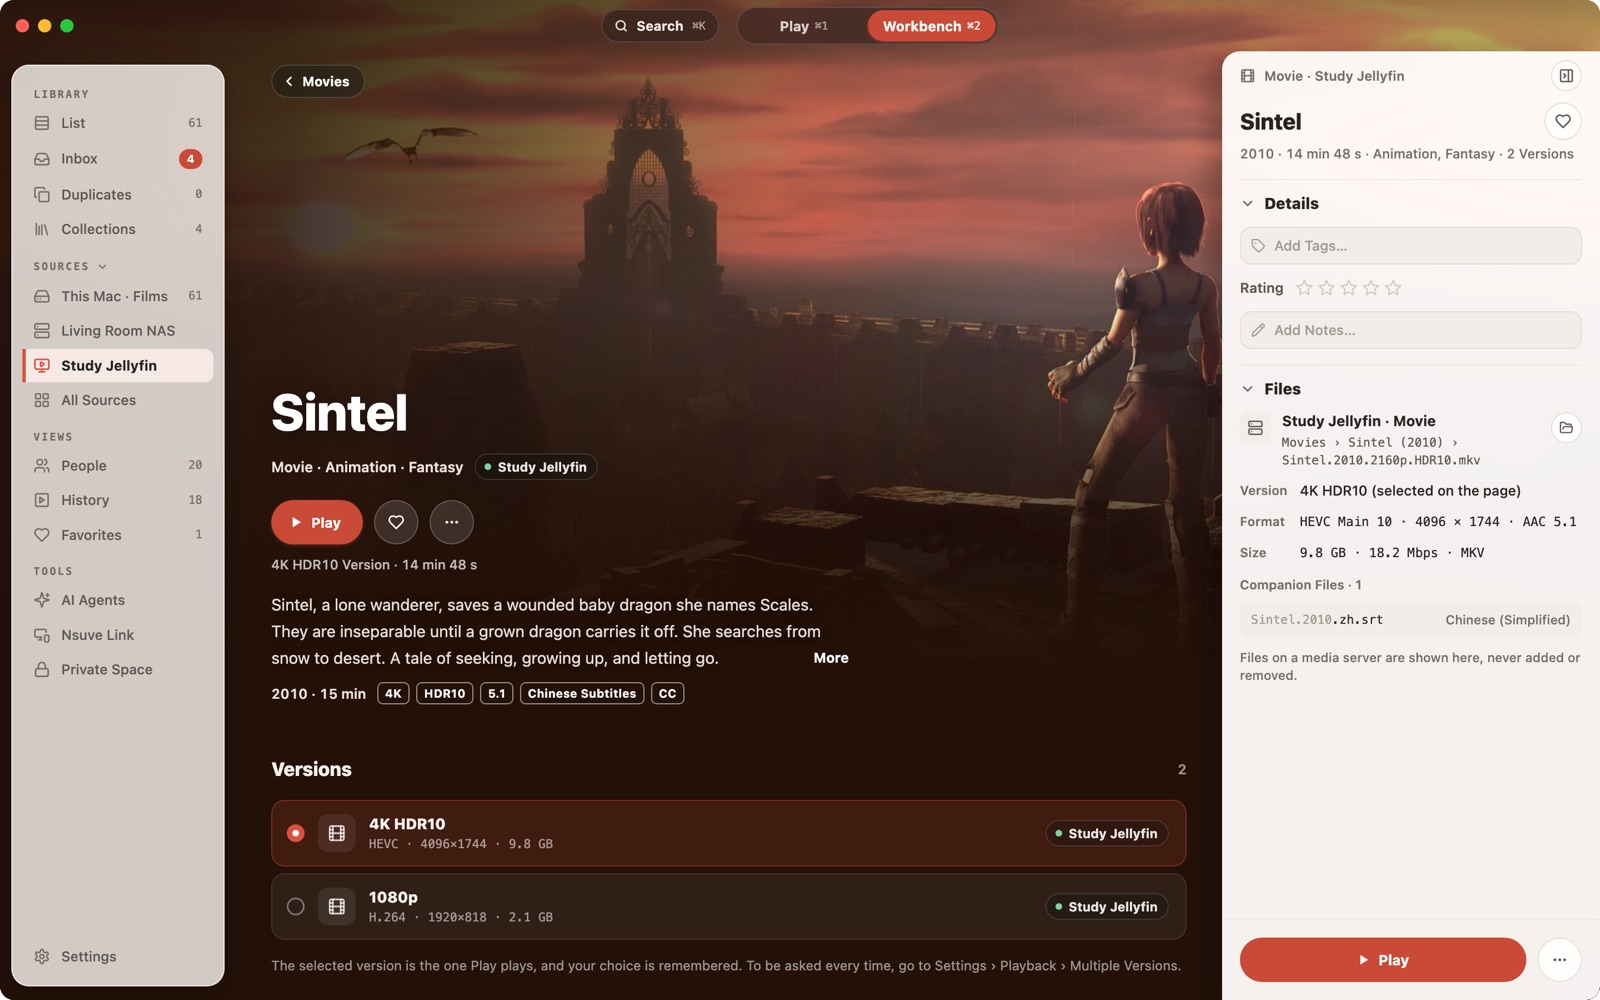
Once every film in a tag collection is archived into your library, you can rename or delete it. Two tags that mean the same thing can be combined with Merge into Another Tag….
The rule is always one tag. You can't combine year, genre and resolution into one rule; to browse by year or source, use the Year and Source Collections Nsuve builds for you.
If a collection turns out to hold one season of a show, Nsuve says these films look like one season. Use Convert to TV Show… and it becomes a real show, with a show page and an episode list.
Private Space: visible only once you unlock it
Some films shouldn't turn up when someone else opens your library. Put them in Private Space. It works differently on the Mac and on iPhone and iPad.
On the Mac
- Moving films in: in a film's details, under Files, choose Move to Private Space. A whole collection can go in from its ⋯ menu with Move to Private Space…, and a saved collection can be made private from its details with Make Collection Private. If you move a tag collection in, new films you give that tag go straight into Private Space.
- What changes: the films disappear from the library, search, collections, watch history and Spotlight. Their playback progress is cleared, so they start from the beginning if you move them back. While a private film plays, the window title just says "Private Video".
- Unlocking and locking: unlock with Touch ID or your Mac login password. In Lock Settings, choose how long it stays open: This Visit Only, Keep Unlocked, or Lock After a Set Time (1 minute to 12 hours). Press ⇧⌘L (Rooms → Lock Private Space) to lock it at once; locking your Mac or letting it sleep locks it at once too. No thumbnails are kept while it's locked.
- Where the files go: into a hidden folder called
.nsurator-privateinside your library. They are hidden, not separately encrypted, and anyone who can log in to this Mac can still open that folder in Finder. To encrypt the whole disk, turn on FileVault in System Settings → Privacy & Security. - What can go in: only files in this Mac's library. Films on a NAS, a media server or a cloud drive can't be moved in.
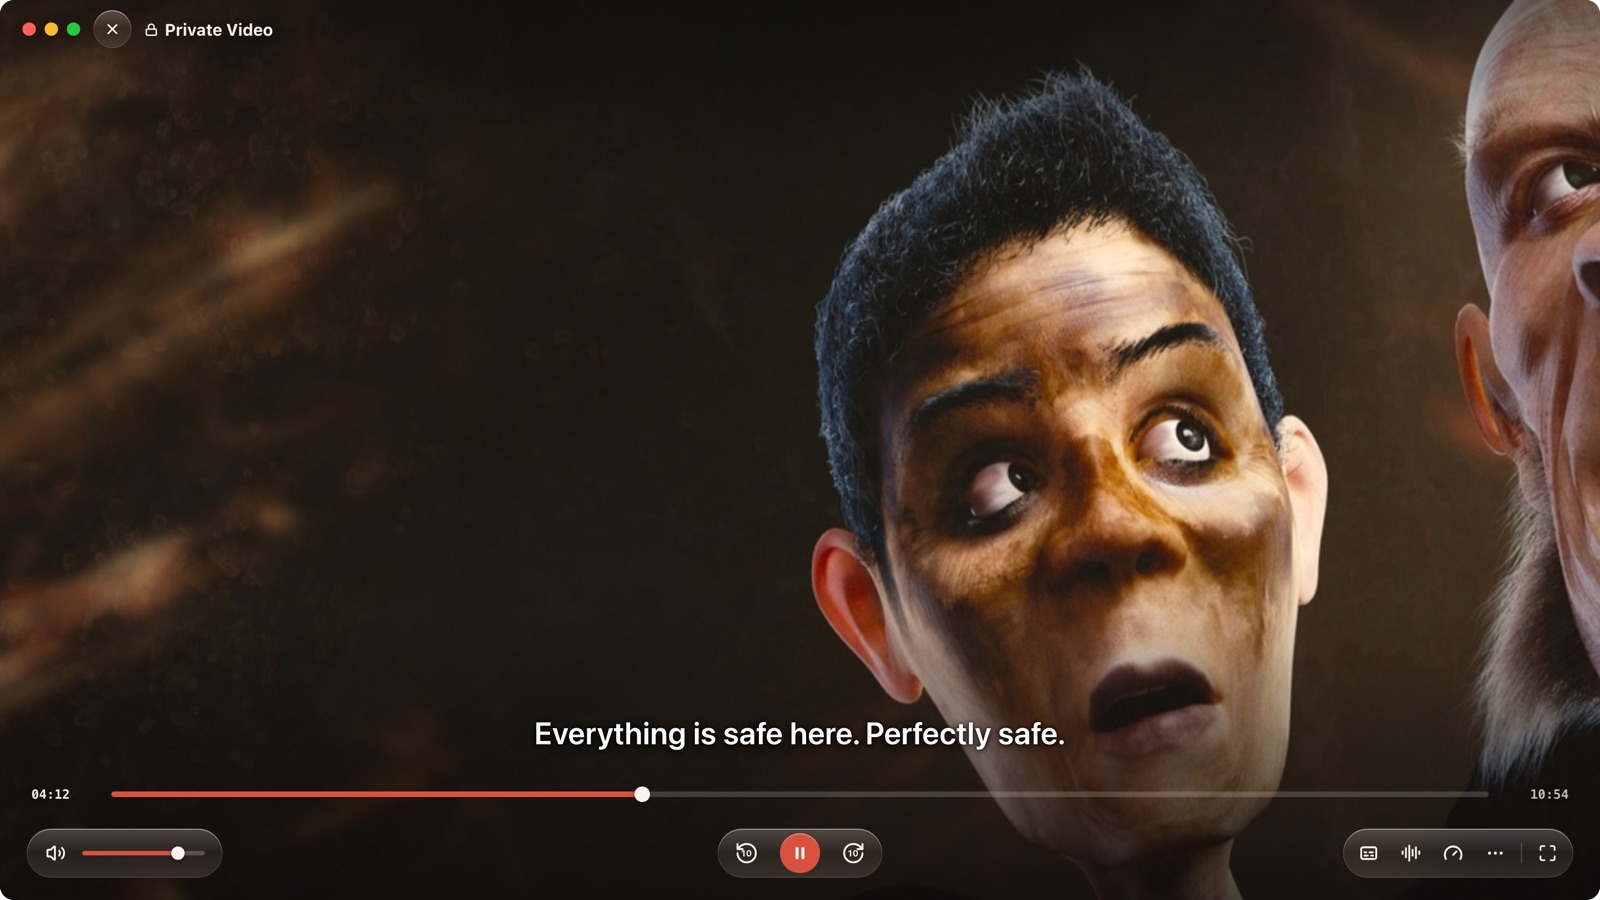
On iPhone and iPad (coming soon)
On iPhone and iPad, Private Space is an encrypted vault. You'll find it on the card at the top of the Files tab; unlock it with Face ID (or Touch ID, or your passcode). To move a video in, choose Move to Private Space… from the file's ⋯ menu. Private videos stay out of your ordinary history, and the player won't take screenshots, use Picture in Picture or cast them. Lock the app or switch away and the sound stops and the picture is covered.
Read next
- WatchingPick up where you left offResume where you left off in Nsuve, set autoplay and when a video counts as watched, pick subtitles and audio, adjust the picture, see which formats play and which use hardware decoding, and open Playback Diagnostics with ⌥⌘I.
- Going furtherNew Mac, same libraryWhat a backup holds, how to schedule one, and how to take your organized library to a new Mac or a new drive. Restoring only merges; it never overwrites.